15th
April
2012
BMW E36 Sensors Explained
Hi Guys,
I know this is one of the most confusing subjects about the BMW E36 cars. Too many sensors with complicated names. Hopefully, this list will help you figure out what the most common sensors in your cars are and what they actually do. Have fun O_o :-
| Symbol | Name | Job | Picture |
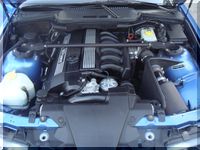
| CPS | Crank Position Sensor | Controls the timing of firing for the spark plugs. | 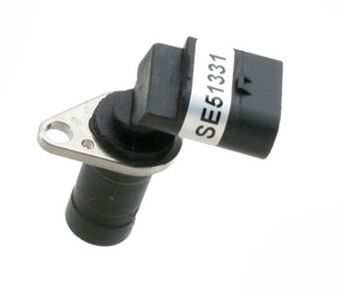 |
| CMP | Camshaft Position Sensor | Controls the timing of injecting fuel. | 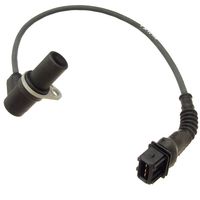 |
| MAF | Mass Air flow Sensor | Reads the volume of air entering the engine intake. | 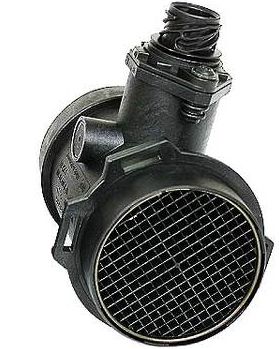 |
| ICV | Idle Control Value | By controlling how much air is allowed to enter through the throttle plate, it controls the idle of the engine. In many cases where the BMW E36 is not idling perfectly, the Idle control valve is the reason behind this problem. Read about cleaning the ICV. | 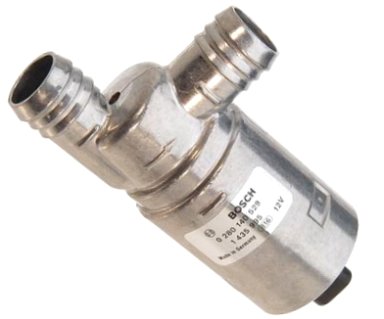 |
| IAT | Air Intake Temp Sensor | Measures incoming air temperature. If the air is cold (more dense), the engine will need more fuel. | 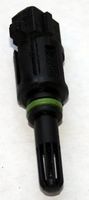 |
| O2 | Oxygen Sensor (Precat, Postcat) | Monitors the gas that’s coming out of exhaust and provides readings to the DME to help it mix air+fuel better. | 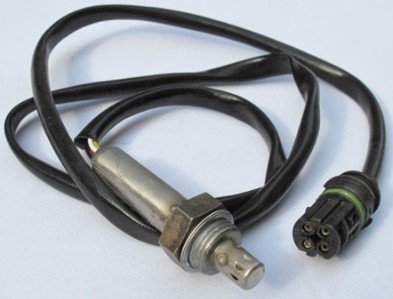 |
| CTS | Coolant Temp Sensor | Measures temperature of the coolant. |  |
| TPS | Throttle Position Sensor | Measures changes in the throttle position. |  |
BMW E36 Blog: The ultimate BMW E36 information source.

Want to receive exciting tips & information about BMW E36 cars? Enter your Email:-
posted in Engine, Technical Info, Tips & Tricks, Uncategorized | 1 Comment

 (4.86 out of 5)
 (4.07 out of 5)


